My electricity supplier in the UK recently sent me a electricity consumption meter which tracks energy use in real time and displays in on a small LCD panel. This has proved to be a real eye opener for me and has helped me to see how much power is used by a variety of devices in the house. I’ve found myself checking the meter at regular intervals and I’m getting good at working out which things are powered on just by checking the meter!
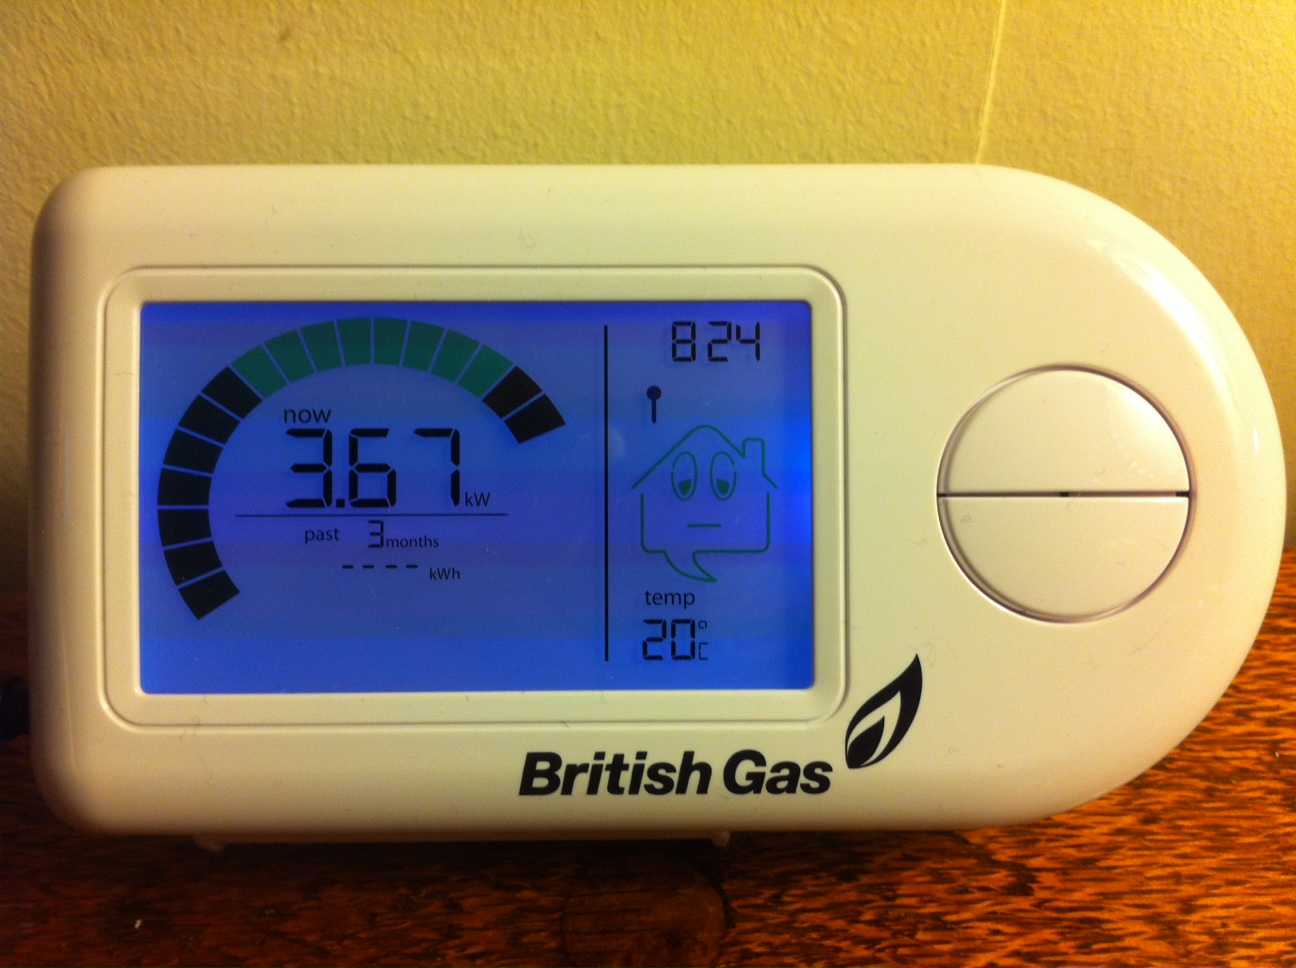
I’m one of those geeky types that likes to leave my home PC on all the time. This means that when I’m away from home, I can connect to the PC remotely and pick up files or refer to old email archives that I don’t keep on my laptop. I haven’t given this much thought until now but I checked the power consumption of my PC and saw that it draws 250W – 300W whenever it’s powered on. I did some rough calculations to see what this was costing me and I was surprised.
Daily power use for my PC = 0.275 KW x 24 = 6.6 KWh
Annual power use for my PC = 6.6 KWh x 365 = 2409 KWh
Average cost in the UK for 1 KWh = £0.14
Annual cost for running my PC all the time = £0.14 x 2409 KWh = £337.26
This made me think about turning my PC off more (as my wife has been suggesting for years) 😉 But I don’t want to lose the ability to turn it on remotely and get access to files….. hence my use of WOL (Wake on Lan).
I recently bought a Raspberry Pi and I’ve been tinkering with it for a while, I’ve used it for time lapse photography and general experimentation. I’ve also put one in the Trust IV office in Manchester which operates a webcam. I thought that I could use the low-powered Raspberry Pi to wake up my high-powered PC when I need it and I’d enable power management on the PC to put the PC to sleep when it isn’t in use.
Here’s how I did it.
- Installed a base build of Raspbian on my Pi
- Installed “wakeonlan” on the Pi, using the command [sudo apt-get install wakeonlan]
- Installed Apache on the Pi, using the command [sudo apt-get install apache2]
- Installed PHP5 on the Pi using the command [sudo apt-get install php5]
- Wrote a small PHP script that sends the wakeonlan command to my PC.
- Changed the default port for the webserver
- Enabled port forwarding on my router to forward HTTP requests from outside to the Pi.
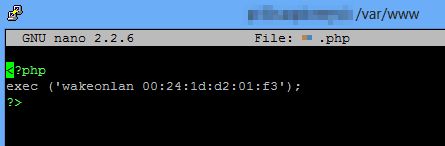
The PHP script (above) is pretty straightforward and uses the “exec” command to simply execute the wakeonlan command. I may improve this to give myself some visual feedback to show that the magic packet has been sent to the PC. For now I’m just happy that I can reduce my energy consumption and still access my PC remotely whenever I want to.
Assuming that this gives me a 50% energy saving, this should reduce the electricity bill by more than £150 per annum.
